
This article was originally published in December 2021. Since then, the Internal Developer Portal (IDP) landscape has transformed dramatically. While this guide remains a useful walkthrough of the initial Backstage setup process, the conversation has shifted. Organizations now have a much clearer understanding of the significant overhead and low adoption rates associated with a DIY Backstage implementation. We've updated this post to reflect the current reality of running Backstage and to provide a clearer path to achieving engineering excellence.
Years ago, when faced with the challenges of rapid growth, Spotify developed an internal catalog of all their microservices: System-Z. System-Z functioned as a catalog, a way to model their systems and track ownership. Developers continued to expand its functionality, and in 2020, System-Z was open-sourced as Backstage.
Backstage is a platform for building developer portals, making it easy to create and manage software from a single place. Backstage features a software catalog, templates, docs-like-code functionality, and a wealth of plugins. This tutorial covers the basic steps to get you up and running with a local Backstage instance.
Getting started with Backstage
Before you begin, note that there are two different ways to start up a Backstage project: you can install the standalone app or clone the Backstage repo. It’s recommended that you self-start with the standalone app — this is the supported method, so it’ll provide you with the smoothest experience.
Prerequisites
Backstage requires a Unix-based operating system (Linux, MacOS, or WSL). You’ll also need to make sure you have Node.js installed; nvm is the recommended method. Finally, make sure that Yarn, Docker, and Git are installed.
Step 1
Navigate to the directory for your application:
cd test/backstage-demo/Step 2
Backstage comes equipped with a script that helps you get up and running super quickly:
npx @backstage/create-appNpx is a tool that runs Node executables; this command will install Backstage and create a subdirectory within your current directory.
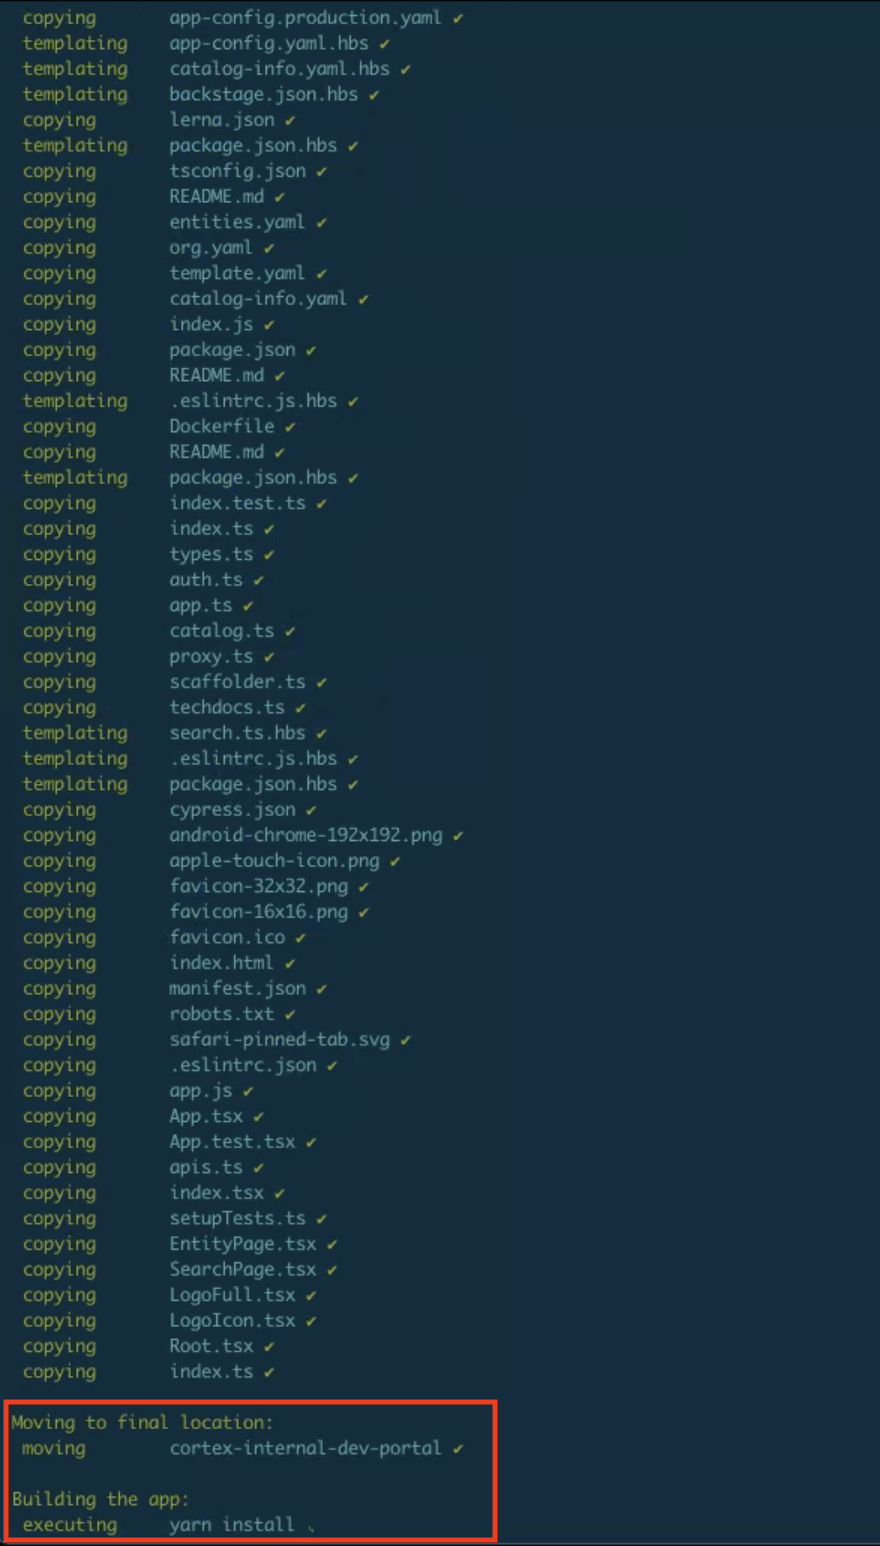
Once you run this command, you’ll be prompted to enter a name for your new application:
> Enter a name for the app [required] cortex-internal-dev-portalOnce you press enter, Backstage will begin building the application.
Step 3
Run the application:
cd cortex-internal-dev-portal
yarn install && yarn dev
The yarn dev command runs the frontend and backend as separate processes in the same window.
Backstage will spin up for the first time with sample components, so you’ll get a sense of how the platform works, rather than staring at an empty catalog.
 You can open any of these components to get a better look. The menu bar at the top will pull information from all of your integrations:

Configuring Backstage
Backstage will check out the minimum number of files that you need to run the application. All of the other internals exist in a library.
 Backstage is totally configurable, from plugins to the look and feel of your application. You can access the master file for the application with this command:
vim app-config.yamlFrom this file, you can connect different plugins, pass API tokens to connect with third-party tools, and adjust the UI. Once you’ve spun up Backstage for the first time, you can start swapping out the static code.
Backstage is designed to catalog your resources, so the locations section is particularly important — this is how you’ll tell Backstage where all of your resources live:
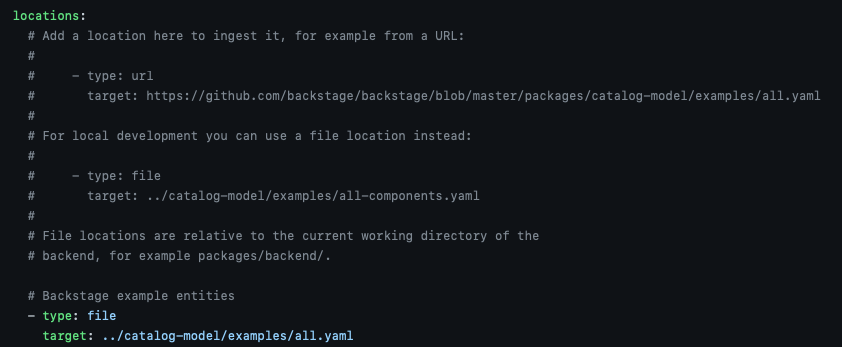 Note that microservices are all specified through YAMLs, and all of these distinct entities can point to one another.
Alternative setup: Cloning Backstage
If you plan to develop your own plugin for Backstage, or contribute to it in some way, then you may want to clone the repo and run Backstage locally instead. Self-starting downloads Backstage as a library, so you can’t change its internals, but by cloning Backstage’s repo, you can adapt its functionality.
To do this, first navigate to your directory:
cd test/backstage-demo/And use the clone command:
git clone https://github.com/backstage/backstageBackstage has a huge repository, so it takes a long time to clone it, but if you really need to modify its internals, it can be done.
Adding plugins
One of the great advantages of Backstage is its huge ecosystem and engaged community. You can access all of the existing plugins at https://backstage.io/plugins. Each plugin has its own installation steps.
Beyond the setup: Understanding the total cost of ownership
Getting a sample Backstage app running is one thing; building and maintaining a production-ready developer portal that engineers actually adopt is another challenge entirely. The initial excitement of a free, open-source tool has, for many organizations, given way to the reality of its total cost of ownership (TCO).
A full-time software project, not a platform: Backstage is not a turnkey solution. It's a framework that requires a dedicated team of engineers—often with specialized frontend, React, and TypeScript skills—to build, customize, and maintain. We’ve seen organizations dedicate anywhere from 3 to 15 full-time engineers just to manage their Backstage instance.
The 9% adoption problem: A simple catalog isn't enough to drive change or provide value to the entire engineering organization. While Spotify has high internal adoption, their own VP of Engineering has shared that external adoption averages just 9%. This is because Backstage lacks the built-in engineering intelligence, deep reporting, and initiative-tracking that gives leaders a compelling reason to use the portal.
A foundation of stale data: A successful IDP must be built on a foundation of trusted, always-up-to-date data, especially service ownership. Backstage does not solve this fundamental problem out of the box. Without constant manual effort or custom tooling, its data quickly becomes stale and untrustworthy, eroding developer confidence and rendering the portal ineffective for driving critical initiatives.
From Backstage to true engineering excellence with Cortex
For engineering teams that have experienced the challenges of Backstage firsthand, the path forward isn't about abandoning the work you've already done—it's about leveraging it.
Cortex was built to solve the TCO, adoption, and data-quality problems that plague Backstage implementations. With our Backstage Migration Helper, you can import your existing catalog-info.yaml files in minutes, preserving your catalog structure while eliminating the maintenance burden for good.
Instead of spending your time building and maintaining a portal, your team can focus on what matters: shipping better software, faster. With Cortex, you get:
50+ out-of-the-box integrations and automated ownership syncing to ensure your data is always trusted and up-to-date.
Powerful Scorecards and Engineering Intelligence that drive adoption by providing value to everyone from individual developers to the CTO.
A turnkey platform that delivers value on day one, not months or years down the line.
If you’re ready to move beyond the basics and build a true culture of engineering excellence, book a demo of Cortex today.


